Understanding an Animated Sprite in MSX2 with MSXgl
- Jan 10
- 5 min read

A step-by-step introduction for newcomers
Programming graphics on an MSX can feel intimidating at first: VDP, VRAM, sprites, BIOS hooks…
However, with MSXgl, many of these complexities are encapsulated in clear and coherent functions.
In this article we will see how a 16×16 animated sprite works on MSX2, from the pattern in memory to on-screen animation, explaining all the important calls without needing to know the hardware at a low level.
The starting point: what is a sprite on MSX?
On a classic MSX:
A pattern is an 8×8 pixel drawing, encoded in 8 bytes.
A 16×16 sprite is made up of 4 patterns of 8×8.
The order is not intuitive: the VDP expects
Top-Left, Bottom-Left, Top-Right, Bottom-Right.
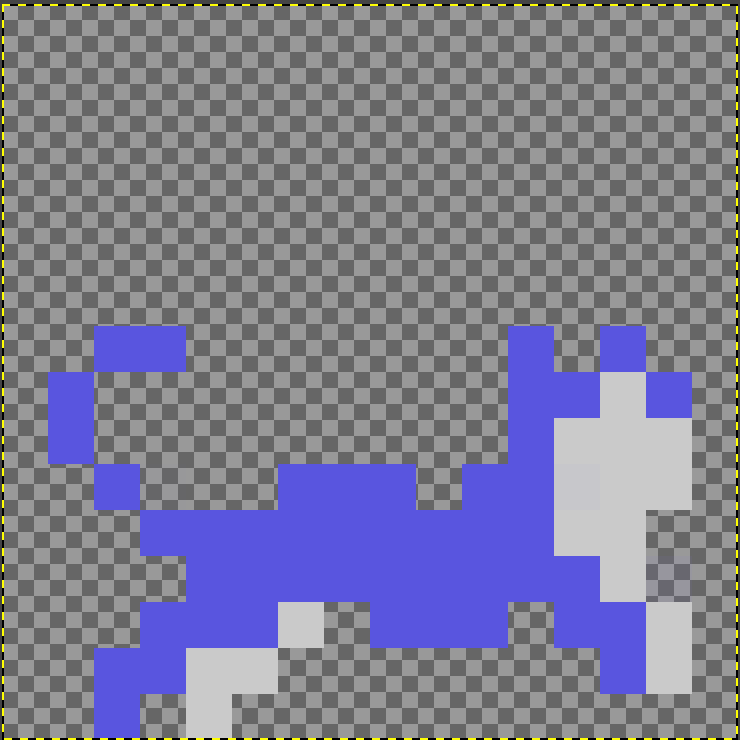
In our example, the character Sam has:
2 animation frames (idle and walk).
2 sprite layers:
BODY
DETAIL (outline or details)
In total: 16 patterns (16 × 8 bytes).
Drawing Sam: patterns in memory
All patterns are defined in a single array:
const unsigned char g_DataSprt16_Sam[];
This array is not VRAM yet, but normal RAM.
Each group of 8 bytes represents an 8×8 tile.
To make reading and access easier, we define a helper function:
static const u8* TilePtr(u8 tileIndex)
{
return g_DataSprt16_Sam + ((u16)tileIndex * 8);
}
This way we can say: “Load tile number 3” without worrying about offsets or manual calculations.
Checking that we are on MSX2
Before using SCREEN 5, we must make sure the computer supports it:
if(g_MSXVER == 0)
{
Bios_ClearScreen();
Bios_TextPrintSting("MSX2 required");
Bios_GetCharacter();
return;
}
g_MSXVER is a global variable provided by MSXgl.
If it is 0, we are on MSX1.
We show a message in text mode and exit gracefully.
Initialising the graphics mode (SCREEN 5)
Now we truly enter MSX2 territory:
VDP_SetMode(VDP_MODE_SCREEN5);
VDP_SetColor(COLOR_BLACK);
This configures the VDP in SCREEN 5 (256×212, bitmap).
To clear the screen we use a VDP command, much faster than drawing pixel by pixel:
VDP_CommandHMMV(0, 0, 256, 1024, COLOR_MERGE(COLOR_BLACK, COLOR_BLACK));
VDP_CommandWait();
HMMV = High-speed Move, Fill
It fills a large area of VRAM with black.
VDP_CommandWait() ensures the VDP has finished before continuing.
Enabling and configuring sprites
Sprites have their own tables inside VRAM:
VDP_EnableSprite(TRUE);
VDP_SetSpritePatternTable(0x17000);
VDP_SetSpriteAttributeTable(0x17A00);
Here we indicate:
Where the sprite patterns will live.
Where the attribute table will live (position, shape, colour…).
We also define the global format:
VDP_SetSpriteFlag(VDP_SPRITE_SIZE_16 + VDP_SPRITE_SCALE_2);
That is:
16×16 sprites.
Scaled ×2 → visually 32×32.
Loading patterns into VRAM
Now we copy the graphics from RAM to VRAM:
VDP_LoadSpritePattern(TilePtr(...), pat, 1);
This function:
Copies 1 pattern of 8 bytes.
Into position pat of the Sprite Pattern Table.
It is important to respect the VDP order:
Top-Left (1) → Bottom-Left (2) → Top-Right (3) → Bottom-Right (4).

That is why the code loads patterns carefully, frame by frame and layer by layer.
Synchronisation: animating without going too fast
To avoid overly fast animations, we use a BIOS hook:
Bios_SetHookCallback(H_TIMI, VBlankHook);
H_TIMI is a periodic interrupt (50/60 Hz).
Each time it fires:
static void VBlankHook()
{
g_VBlank = 1;
}
And in the main loop:
static void WaitVBlank()
{
while(g_VBlank == 0) {}
g_VBlank = 0;
g_Frame++;
}
This allows us to:
Advance time in a stable way.
Control animation with a simple counter.
Creating Sam with two sprite layers
We create two overlapping sprites:
VDP_SetSpriteExUniColor(SPR_SAM_BODY, x, y, shape, 0x04);
VDP_SetSpriteExUniColor(SPR_SAM_DETAIL, x, y, shape, 0x0E);
Same position.
Same animation.
Different colours.
Result: a single character with an outline, very common in MSX games.


Animation and movement
Each frame:
u8 frame = (g_Frame >> 2) % 2;
The animation changes every 4 ticks.
We alternate between frame 0 and frame 1.
We only update what is necessary:
VDP_SetSpriteData(spriteId, &sam);
This writes:
X
Y
Shape
Without touching the colour or recreating the sprite.
Clean exit
When the user presses the ESC key, we leave the main loop and close the program cleanly:
Bios_ClearHook(H_TIMI);
Bios_Exit(0);
Two important things happen here:
1. Unhooking the BIOS hook
With Bios_ClearHook(H_TIMI) we avoid leaving the system with an active interrupt that will no longer be used.
This is essential to prevent strange behaviour after the program exits.
2. Exiting the program with Bios_Exit(0)
This call returns control to the system… but the final behaviour depends on how the program was compiled.
ROM vs DSK: a key detail
If the program was compiled as a ROM:
When pressing ESC, the program appears to reload, as if performing a warm reset.
This is normal: in a ROM there is no “operating system” to return to, so the MSX restarts execution of the cartridge.
If the program was compiled as an MSX-DOS executable (DSK):
In this case, exiting with Bios_Exit(0) returns us to the MSX-DOS prompt, exactly as expected in a command-line environment.
The same code can therefore behave differently depending on whether it is run from ROM or from DOS, and this is a historical and characteristic feature of the MSX platform.
Conclusions: what now?
In this article we have done something very concrete… but very powerful:
We took an MSX2, a 16×16 pixel character and MSXgl, and made it move and animate with intent.
Along the way we have seen that:
A sprite on MSX is not black magic, but:
well-organised 8×8 patterns,
an attribute table,
and a bit of discipline when loading them.
MSXgl allows us to work at a much more comfortable level:
without touching registers directly,
without assembly,
and with readable, modular and maintainable C code.
Classic concepts such as:
frame-based animation,
time synchronisation,
multi-layer sprites (body + detail),
Can be implemented in a clear and pedagogical way, ideal both for learning and for teaching.
In other words: MSX is still a fantastic playground, and MSXgl is an excellent tool to take advantage of it today.
The potential of MSXgl (seen with MoltSXalats eyes)
This example is small, but it clearly hints at the potential of MSXgl:
It allows modern code to be written for classic hardware.
It makes demos, games and experiments easier without having to rewrite half the VDP specification each time.
It is ideal for:
educational articles,
workshops,
quick experiments,
and community projects like the ones we enjoy so much.
For us, MSXgl is a kind of bridge between the MSX of the past and the modern way of understanding development.
And this is not the end…
This article is only a first step. From here, the natural path is to keep growing:
Adding scroll
Taking the next logical step: a scrolling scenario while Sam walks.
Exactly what we already explored in other articles… but now with MSXgl and SCREEN 5.
Tile maps and collisions
Introducing a map, detecting walls, limits and objects, and starting to talk about a real “game”.
Comparing approaches
Seeing how the code changes if we do it:
in SCREEN 2,
on MSX1,
or by combining sprites and backgrounds with different techniques.
From demo to game
Turning this example into a reusable base:
project structure,
state management,
and good practices for future developments.
In summary
If you have made it this far, you are no longer just “looking at” MSXgl: you are using it.
And that, in the MoltSXalats spirit, is the most important thing: try, understand, touch, break… and try again.
See you in the next article.
With more code, more scrolling… and probably more cats 🐾
Click here to see the working example.
You can download the code for this project here.
Source code
Sam Sprite Data


Comments